Step 1: Create a New Image
We will start by creating a new image file, go to the Menu bar and click File > New, and then input the following values on their respective fields:
Presets: International Paper
Size: A4
Width: 3508 pixels
Height: 2480 pixels
Resolution: 300pixels/inch
Color Mode: RGB Color; 8 bit
Background Contents: Transparent

Step 2: Create the Foreground
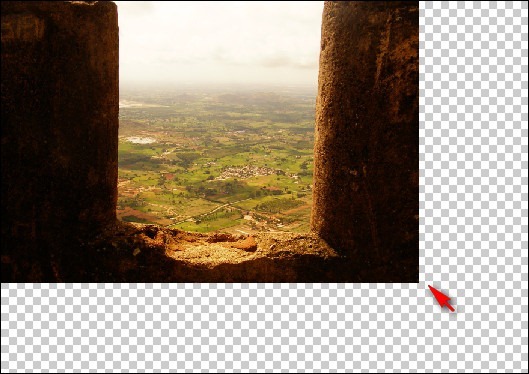
In this Step, we will be creating the foreground of our image, which would be inside of a cavern overseeing the sky. To start, let’s open the stock image: 1157664
Once it’s open, activate the Move tool by pressing Von your keyboard. Once activated left-click on the stock image and then while the Move tool is activated, drag it to our canvas. Upon moving to our canvas, position it here:
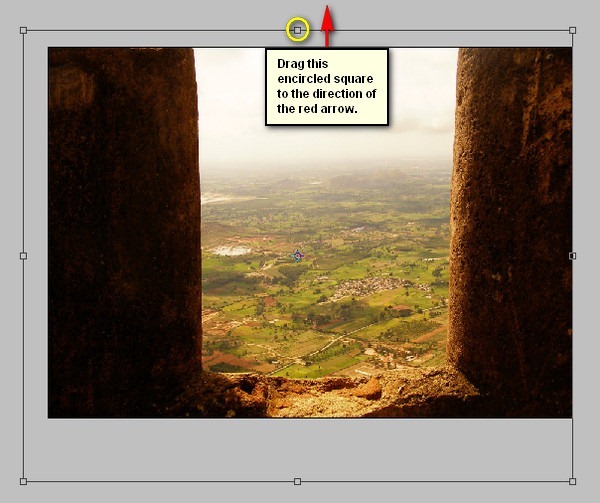
We positioned it there for a reason, now activate the Transform tool (Ctrl/Cmd + T) and then resize it as shown below:
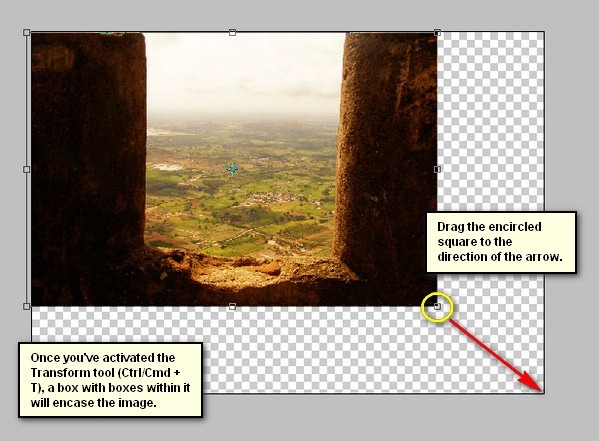
The result:
Next, we would need to distort the image so it would appear symmetrical. To do that, activate the Transform tool (Ctrl/Cmd + T) and then right click on the canvas to show the Transform tool’s contextual menu. See image below:
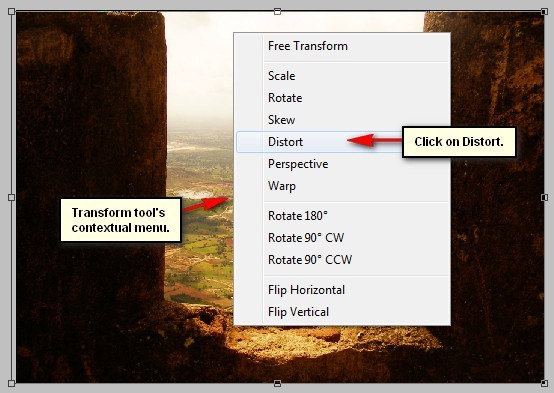
Now, to Distort the image, follow the instructions as shown below:

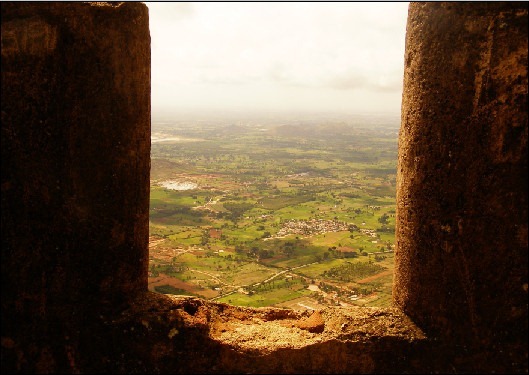
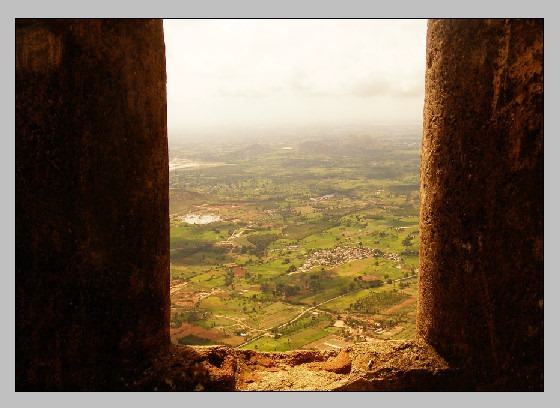
The result:
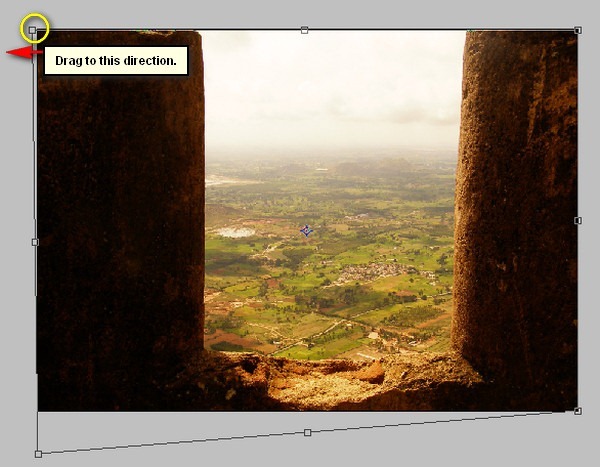
Next, let’s scale the stock photo up to make it appear more symmetrical. To do that, activate the Transform tool (Ctrl/Cmd + T) and then resize it as shown below:
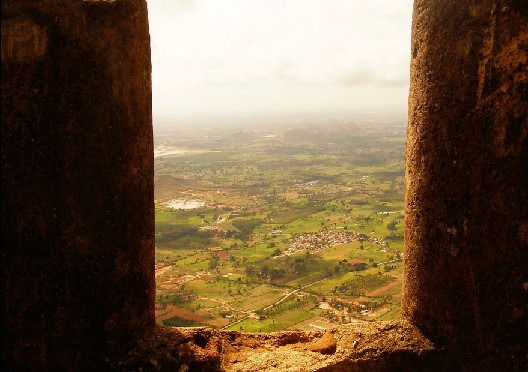
The result of that should be similar to this:
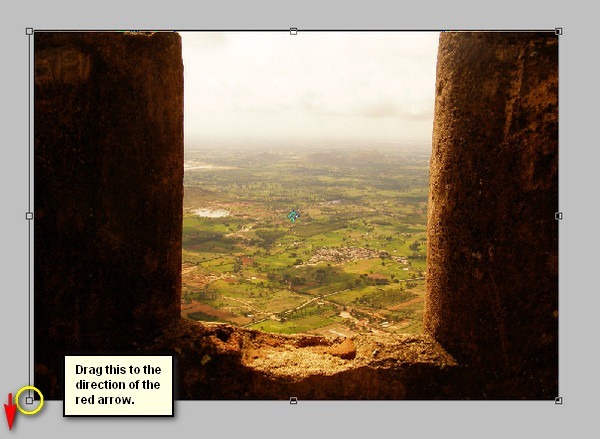
Now, to balance the width of the walls, we would need to pull the image to the left to make both wall sizes equal or proportioned at least. Activate the Transform tool (Ctrl/Cmd + T) and then resize as shown on the image below:
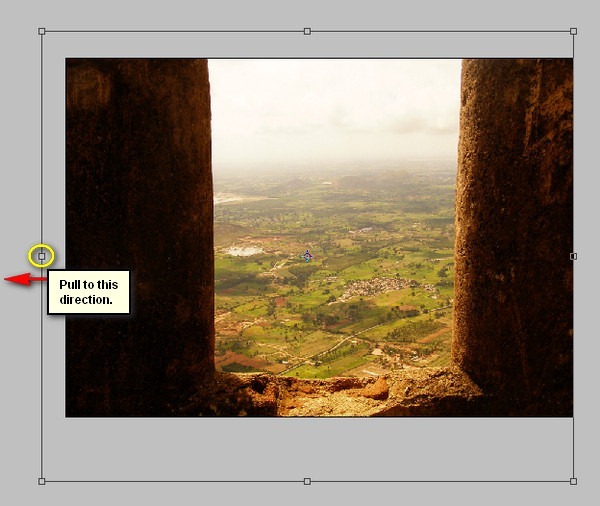
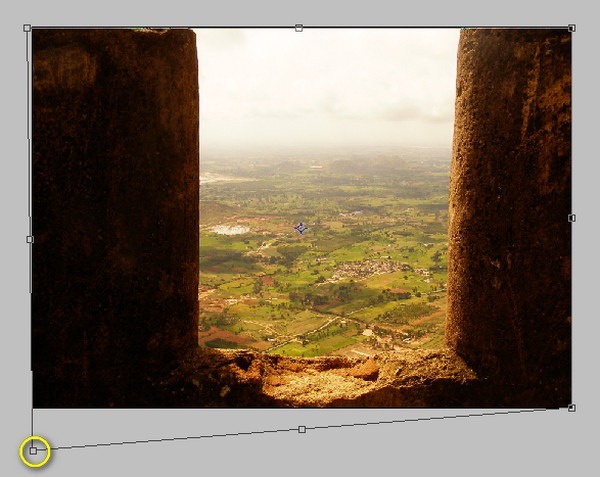
The result should be similar to this:
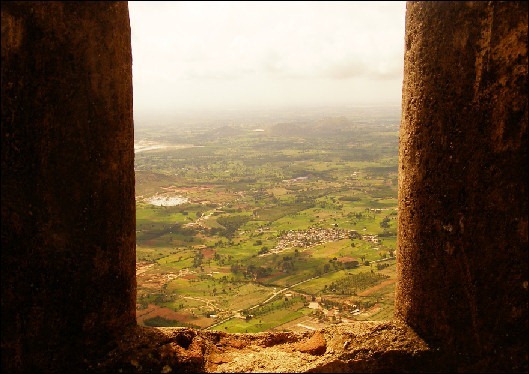
Now, we would need to remove the background of this image which we would be replacing with a sky in Step 2. To remove the background from this image, we would need the Polygonal Lasso Tool.
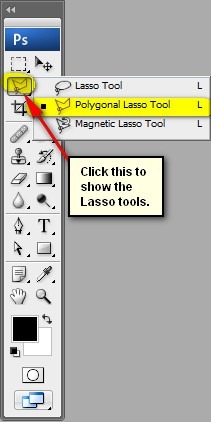
Once the Polygonal Lasso Tool is activated, use it to create a selection area around the background as shown below:
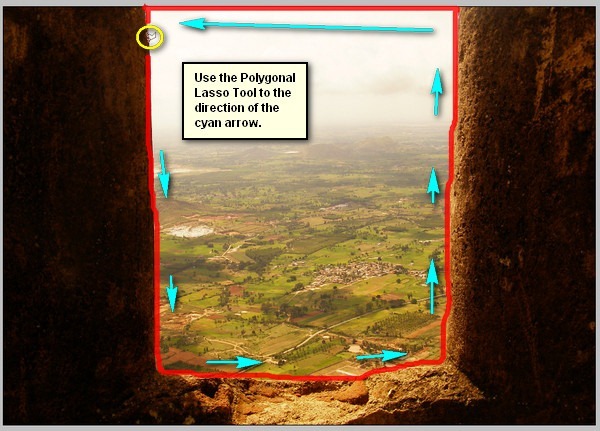
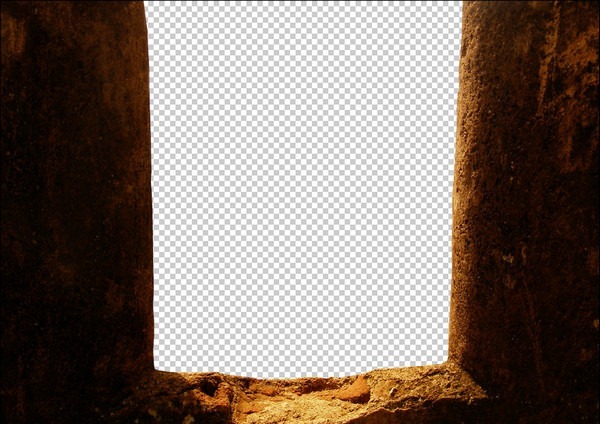
Once you’ve connected with the starting point of the Polygonal Lasso Tool, a series of broken lines will appear around the area you’ve selected. You may now press DELETE to remove this part of the image.
The result should be like this:
Step 3: Create the Background
Now, we will add the sky to complete our background. Open the stock image: 1263409
Next, activate the Rectangular Marquee Tool (M).

Once activated, use it to select the sky of the stock image. See image below:
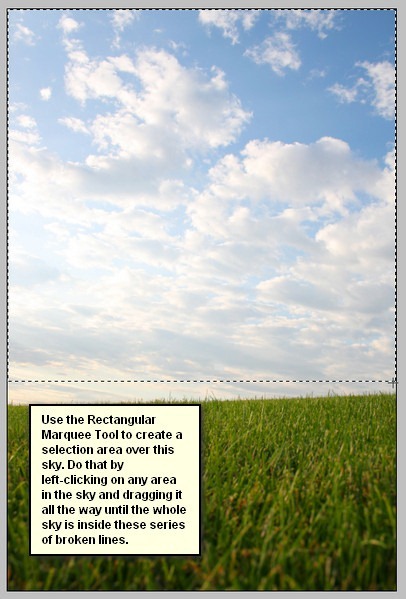
Now, that a selection area has been made, drag this sky now to our canvas using the Move tool (V). Put this layer now below the foreground layer in the layer window by left-clicking on it and then dragging it below the foreground layer.
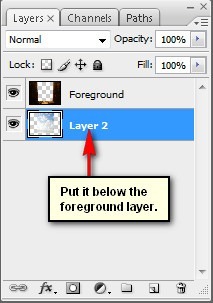
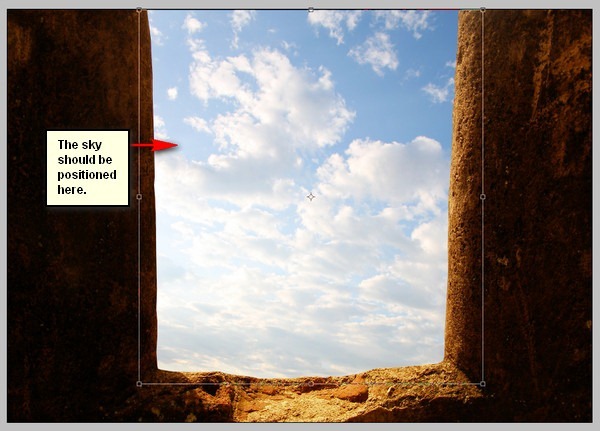
The image should be positioned as shown below:
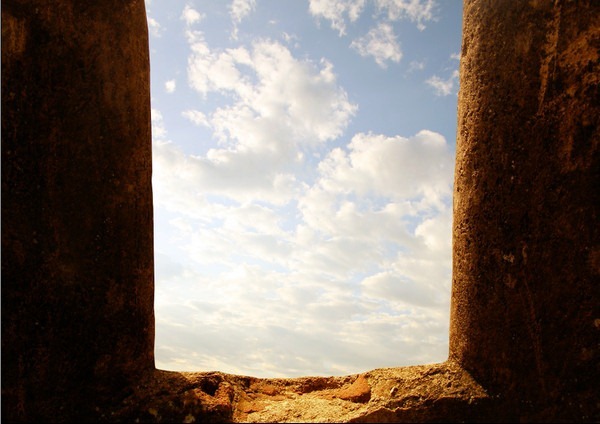
Next, we would need to change the Color of the sky so it would blend in well with our foreground; to do that, make sure that the active layer is the sky and then go to Image > Adjustments > Color Balance. Once it is open, input the following values on their respective fields:
Color Levels: +35, 0, -55
Tone Balance: Midtones
Preserve Luminosity: Check

The result of that should be similar to this:


0 comments:
Post a Comment