Step 1
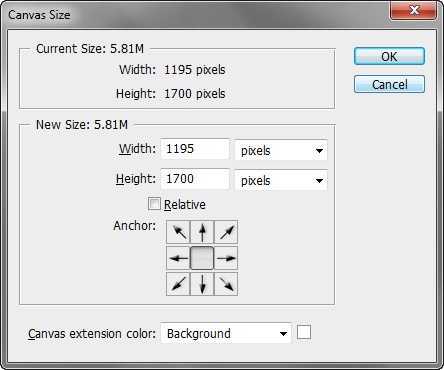
Let’s create a blank document similar to these dimensions.
Step 2
A subtly textured background works well than a plain one. Locate the paint texture and bring it into Photoshop. Drag and drop it into the composition.
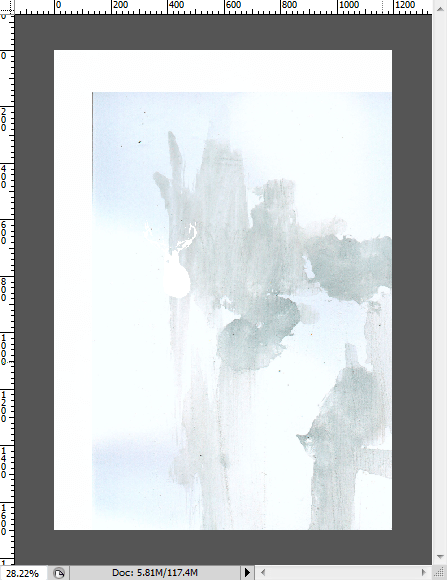
Desaturate the texture (Ctrl+Shift+U). You may need to resize the texture to fit the document.
advertise here

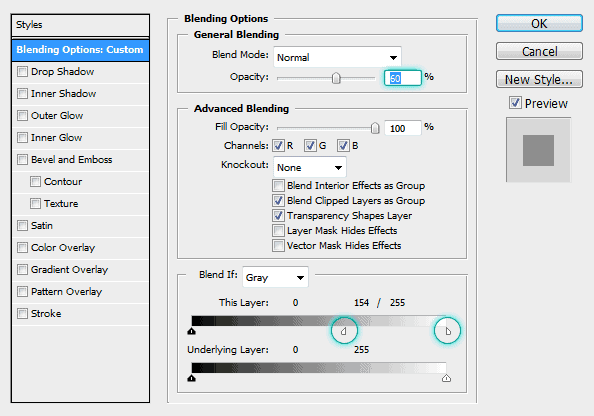
Adjust the layer Opacity and blending to make it subtle. Double click on the layer thumbnail to load Blending Options dialog box.
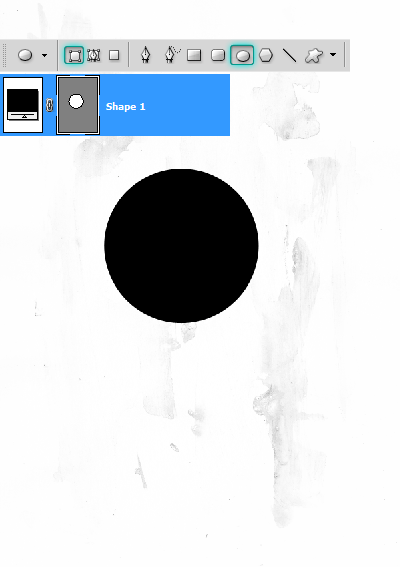
Step 3
We now need to create several shapes that will define the overall design and contain other graphic elements. Set the color to #000000. Let’s Start off from the middle by drawing a circle with the Ellipse Tool. Choose the Shape layers option on the Options panel. Working with shape layers is very productive and time saving. They are resolution independent and can transform them without losing any quality.
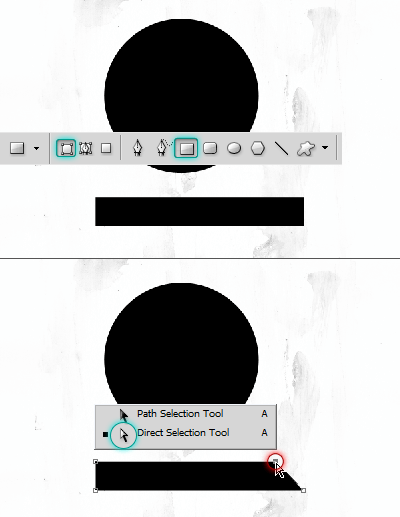
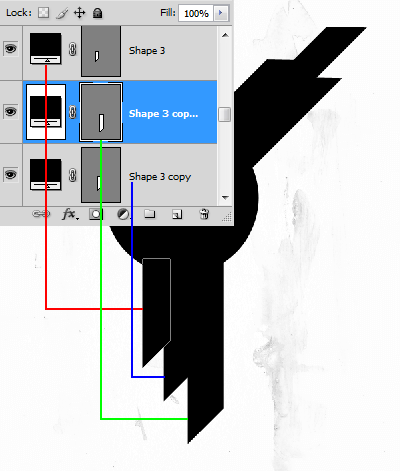
Draw this shape using the Rectangle Tool. Edit the corner with the Direct Selection Tool.
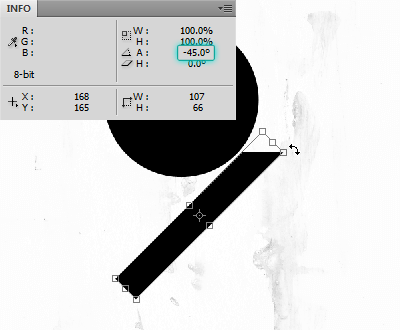
Press Ctrl+T, rotate the shape by -45 degrees. Use the Info palette see to see the properties.
Reposition the shape. Duplicate the layer a couple of times. Stack the layers in this manner.
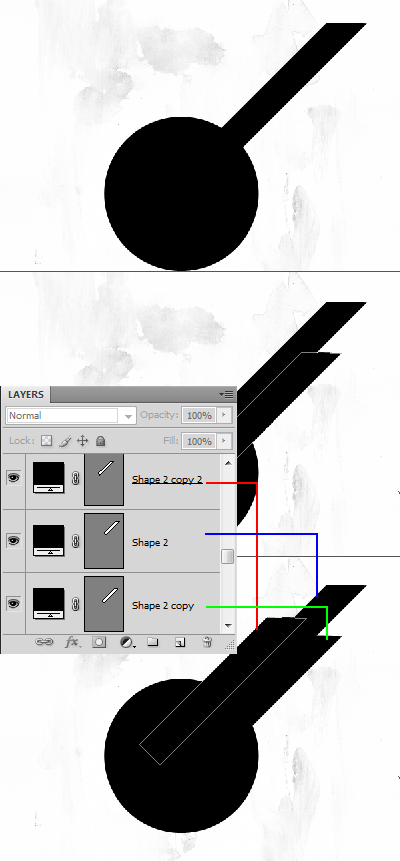
Now construct the bottom side.
Step 4
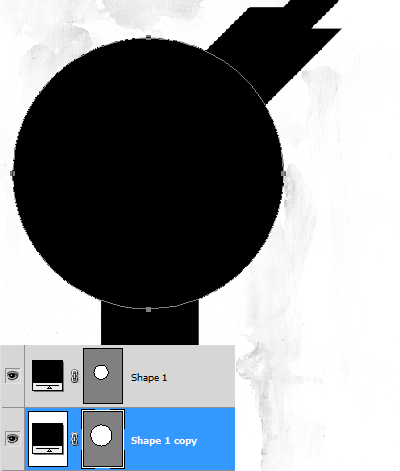
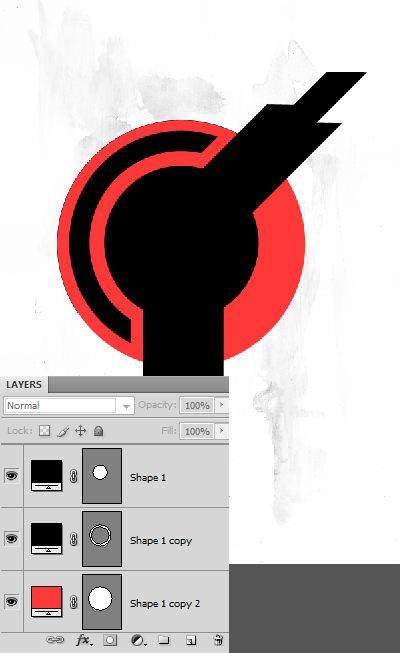
Create another circle outside the main circle. Duplicate the circle ( Ctrl+J ). Scale it approximately by 145%. Hold Alt+Shift while scaling to maintain the center point.
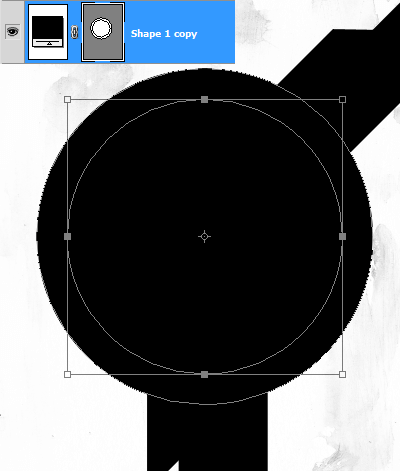
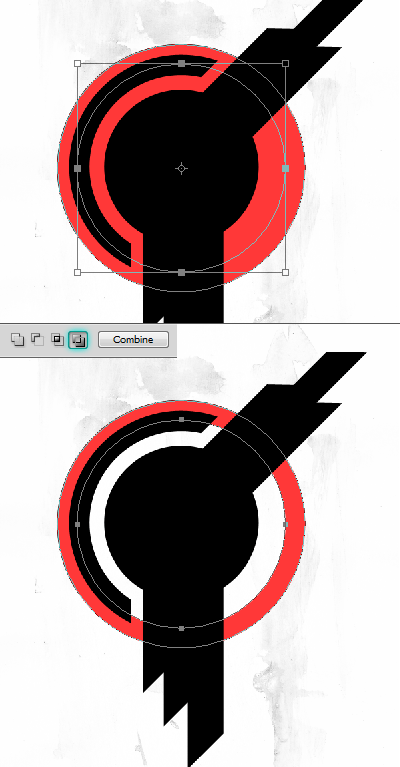
We need to punch a hole in the circle. Click on the Vector Mask thumbnail. Copy the path by pressing Ctrl+C and hit Ctrl+V to paste. Press Ctrl+T and scale it down to 80%.
Select the inner circle, on the Options Panel click on “Exculde overlapping shape areas” button to punch hole in the circle.
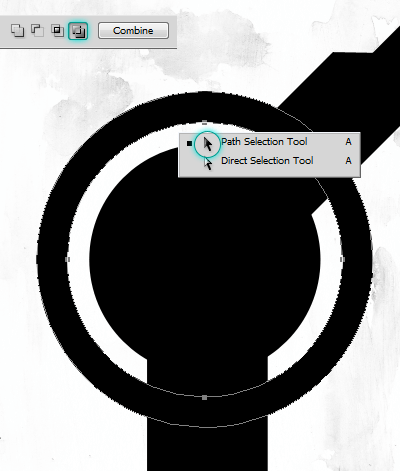
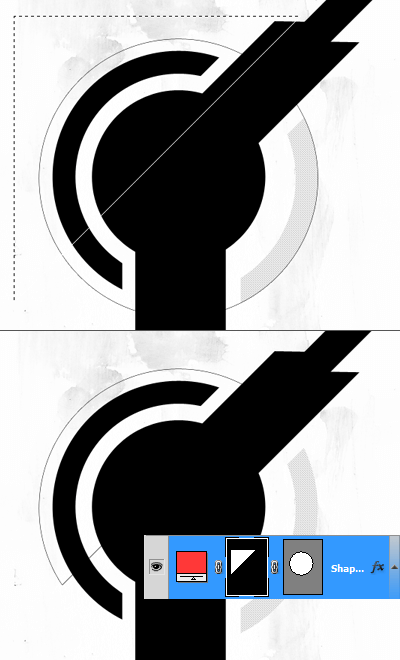
We don’t need the whole circle but a portion of it. Hide the rest with a layer mask.
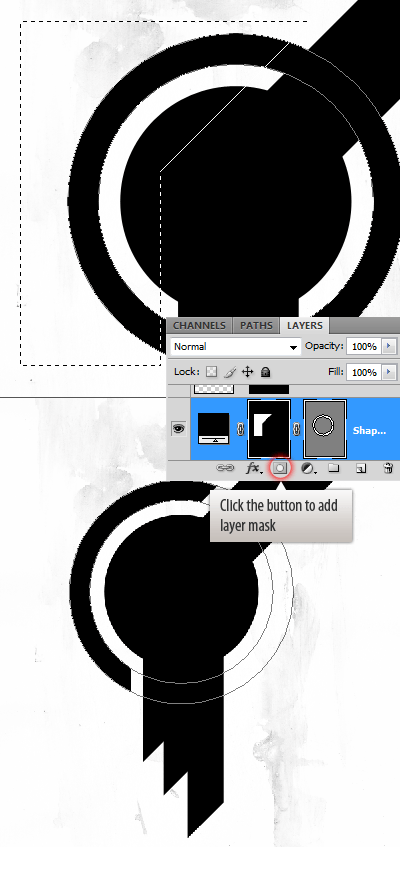
Step 5
Create another circle bigger than the outer one. Just as before, duplicate the middle circle, place it below the rest.
Cut hole in the circle.
I want to use this part of the circle, hide rest of it.

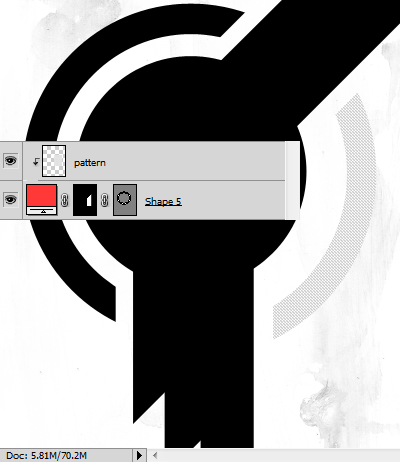
Create a new layer above the cut circle. Use the Pencil Tool with 1px dia to create the pattern. Select it with the Marquee Tool. Choose Edit > Define Pattern.
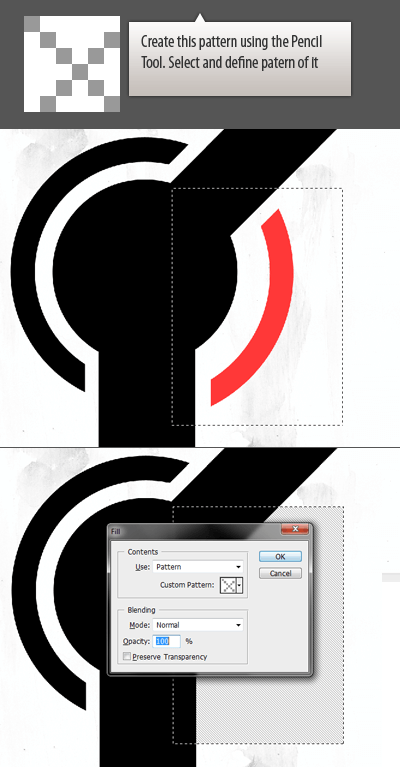
Clip the pattern layer to the circle layer. The shortcut is Ctrl+Alt+G.
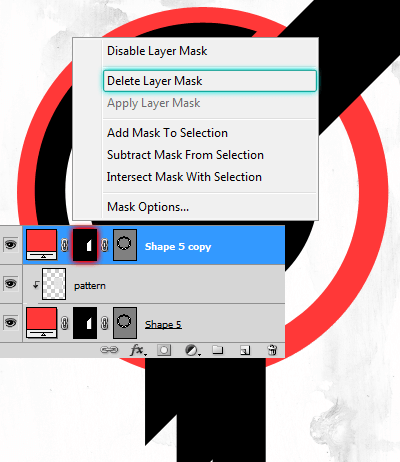
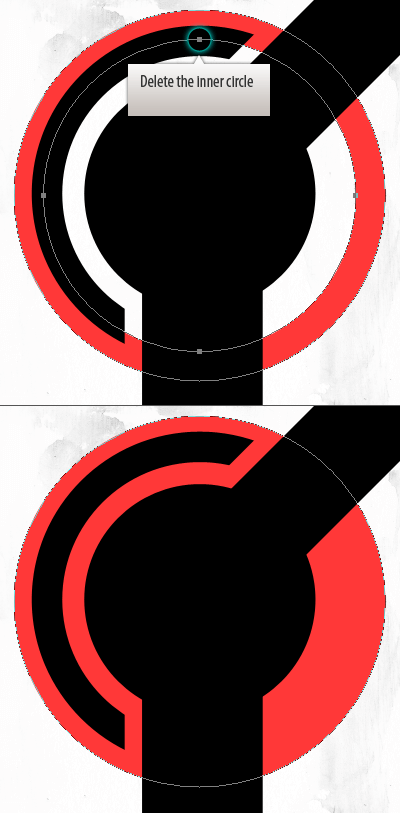
Duplicate the circle and delete the Layer Mask. Delete the inner circle.
Reduce the fill opacity to zero. Then Apply stroke.
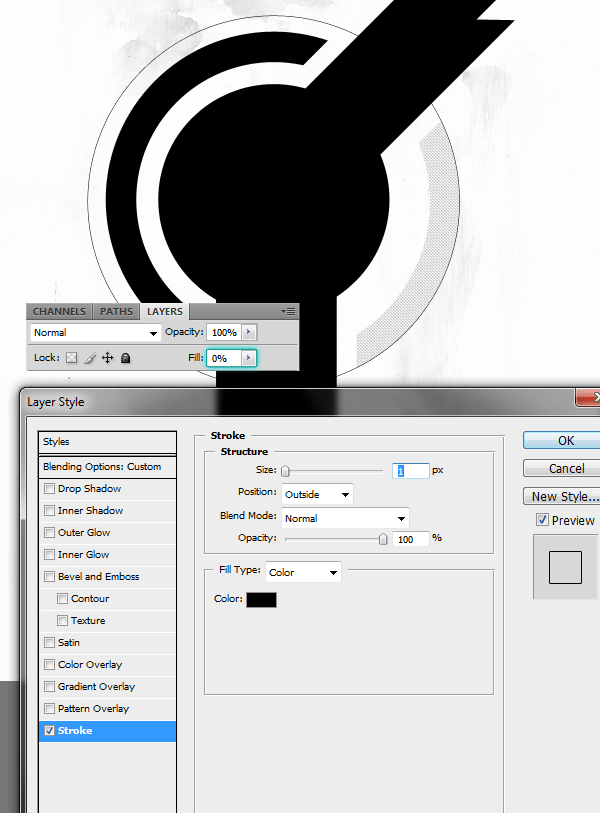
Hide part of the circle with a layer mask.


0 comments:
Post a Comment