Step 1
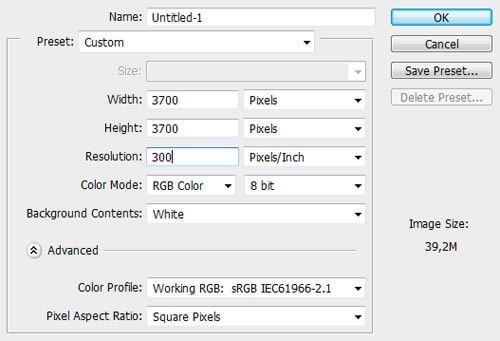
Let’s begin by creating our document. We will work on a 1:1, 3.700 pixels canvas, using RGB Color at 300 Pixels/Inch.
Step 2
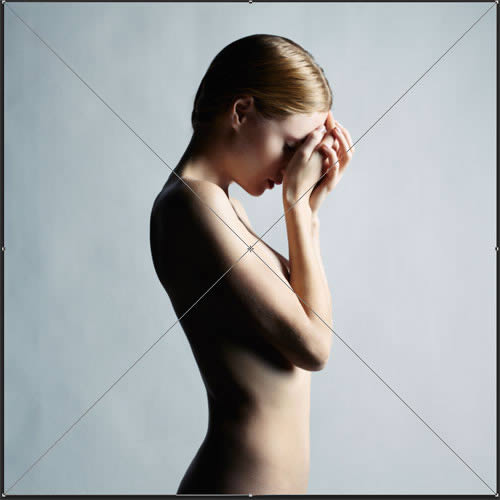
Add the main model stock photo to the canvas. Press Enter to place it and name this layer "model".
Use the Magic Wand Tool (W) with less than 20 pixels of Tolerance, and click on the light blue background to select it. Shift-click to select multiple background areas to add them to the selection.
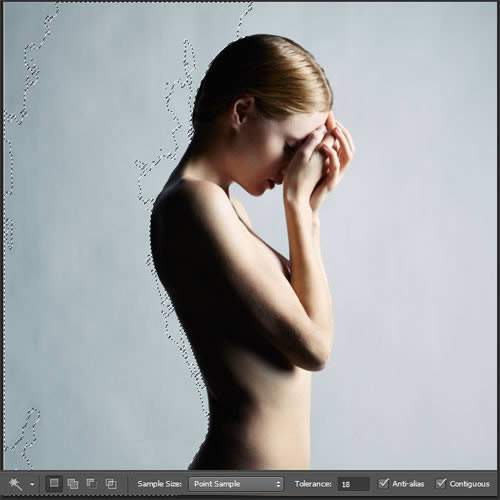
Zoom In and Shift-click on the small background areas between her fingers, face and arms.

Invert the Selection by going to Select > Inverse or by pressing Command/Ctrl + Shift + I. On the top horizontal Tool Menu bar, click on Refine Edge (with the Magic Wand still selected). Use the following settings to enhance the selection and get smooth edges.
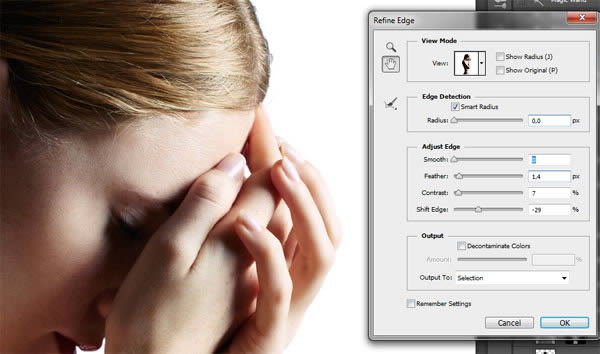
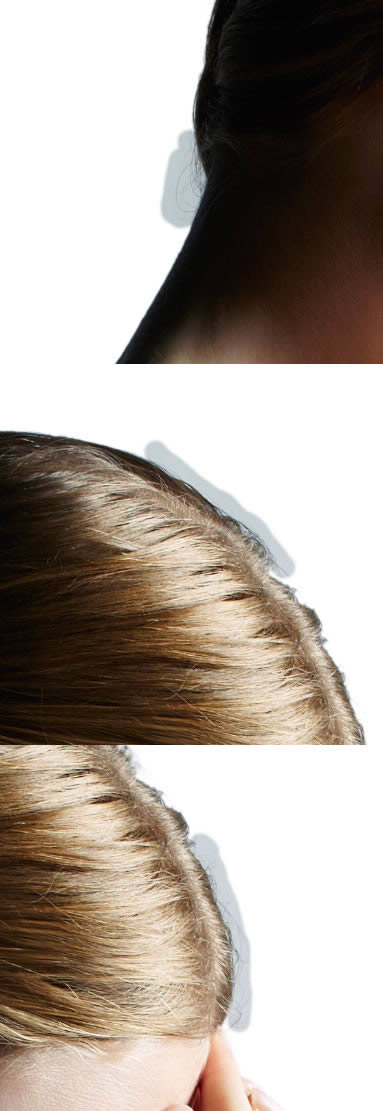
Click on the Brush icon on this window, and paint over certain areas, like the hair behind the neck. After painting the selection will be refined using the values we entered in the Refine Edge dialog box.
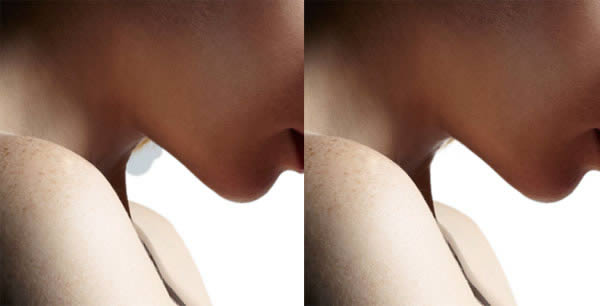
Repeat this process over the following areas:
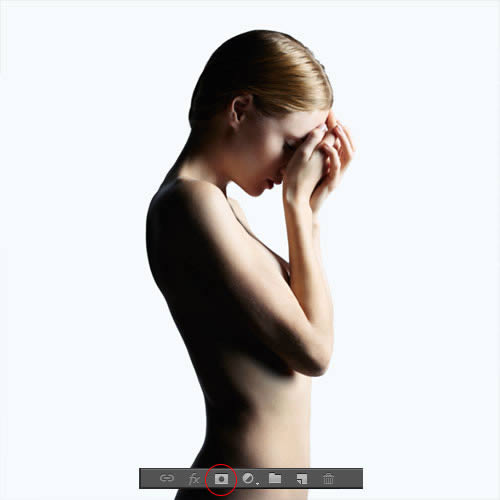
Click OK when you are done. Click on the Add New Layer Mask at the bottom of the Layers Palette to make the model image background disappear, but preserving the original image in case we need to add changes later.
Step 3
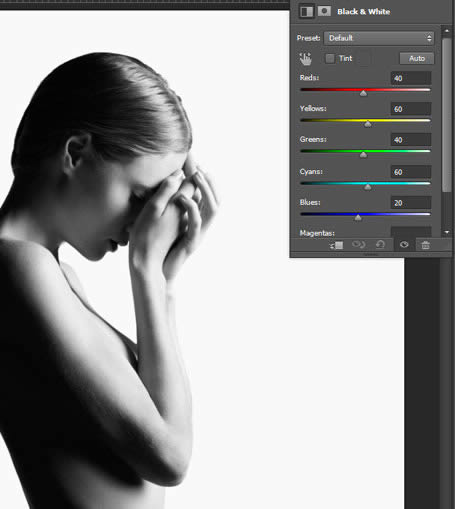
Again at the bottom of the Layers Palette, click on the Add New Adjustment Layer icon and select Black & White.
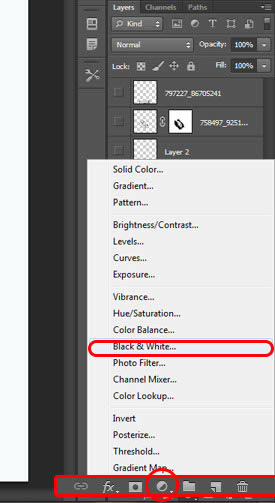
Be sure this layer is above the "model" one and use the Default preset.
Step 4
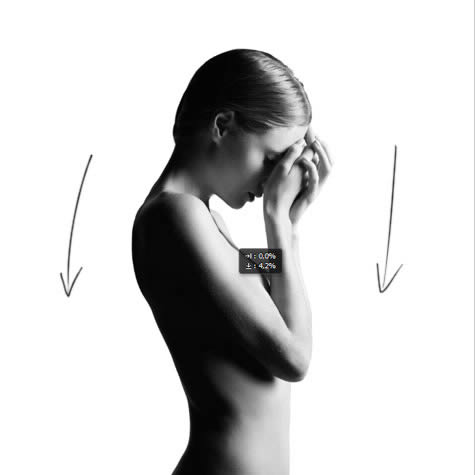
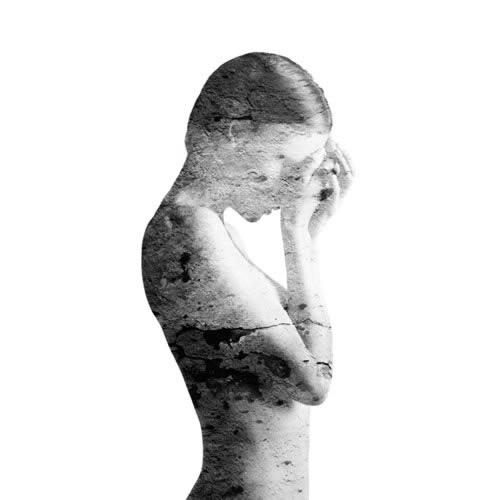
Use the Move Tool (V) to drag down the girl.
Step 5
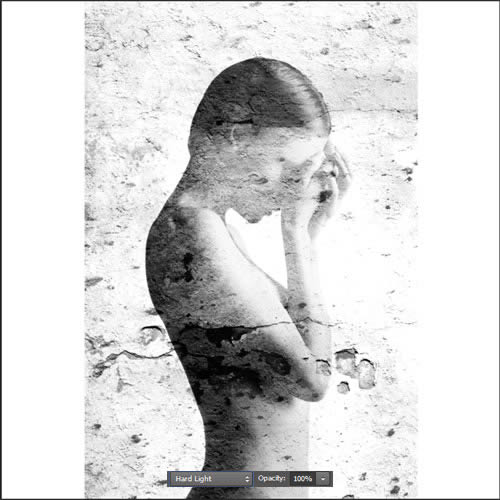
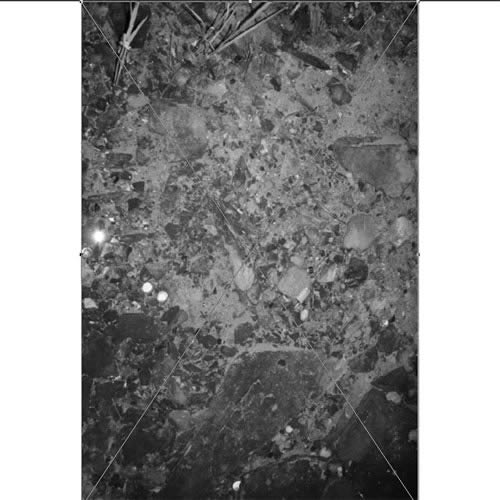
Drag the Texture #1 stock pic to the canvas.
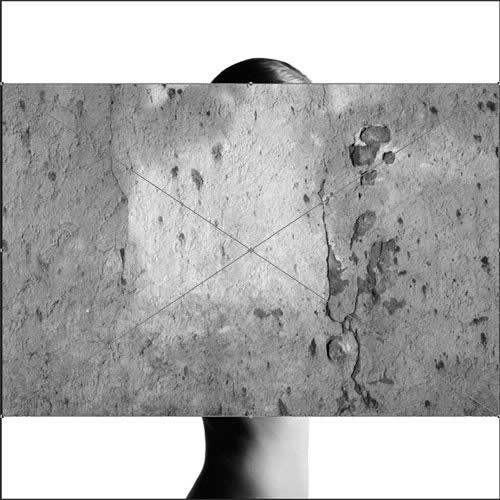
Rotate it 90º to the right. Hold Shift key to get an accurate result.
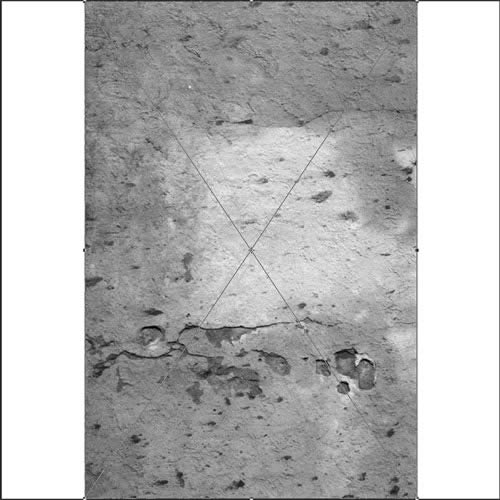
Press Enter and name this layer "texture1". Set the Blending Mode to Hard Light to blend it with the girl.
Command/Ctrl – click on the mask of the "model" layer to load its selection.
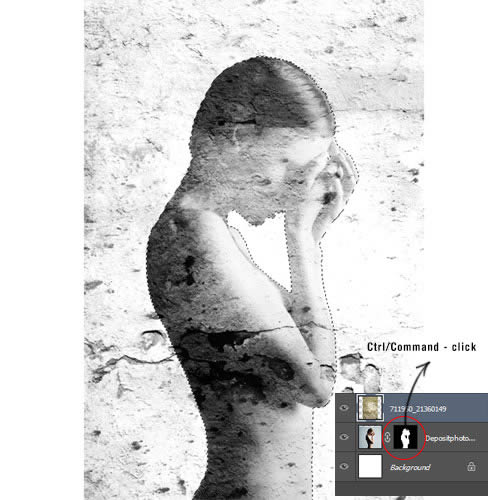
Then press the Add New Layer Mask having "texture1" selected, so this layer will have the same shape as the girl.
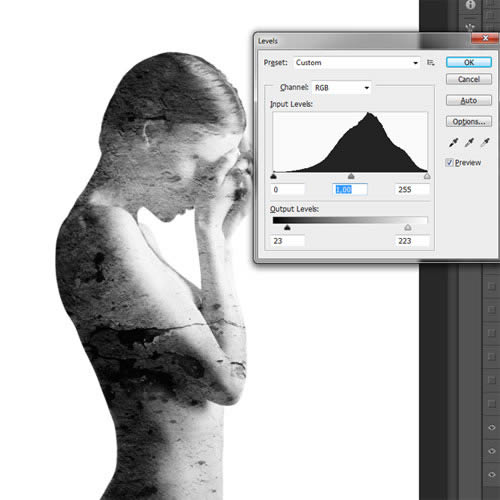
Click on the layer icon (not on the mask), and go to Image > Adjustments > Levels or press Command/Ctrl + L. Decrease the contrast by dragging both black and whites to the midtone area.
Step 6
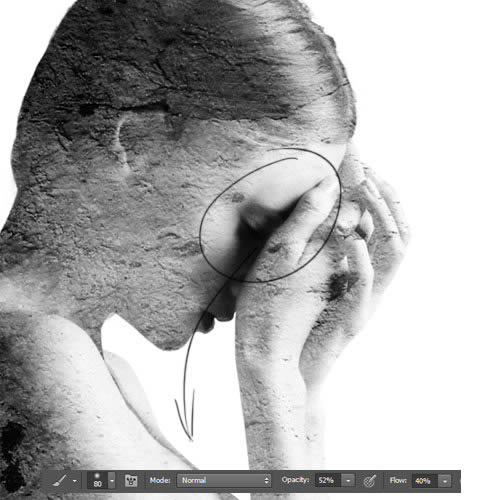
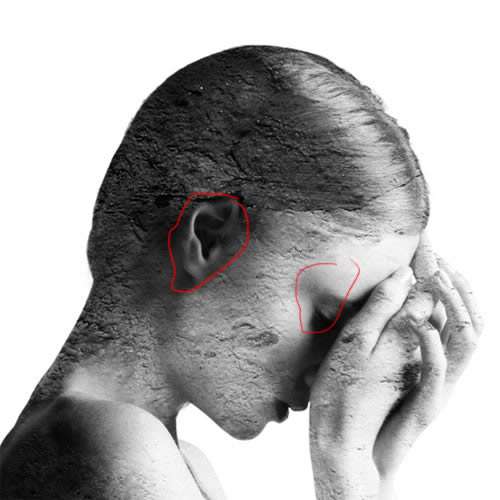
Now we will use the Brush Tool (B) over the layer mask to delete some parts we don’t want anymore. All over this tutorial, use always 0% Hardness brushes on all tools. Select black color to paint on the layer mask over the eyes, using these settings in your brush:
Paint also over some fingers, so the texture won’t look like pasted over them.
For the same reason paint over her breast.
And on the junction of the arms and her back. Delete also some darker spots on her belly area.

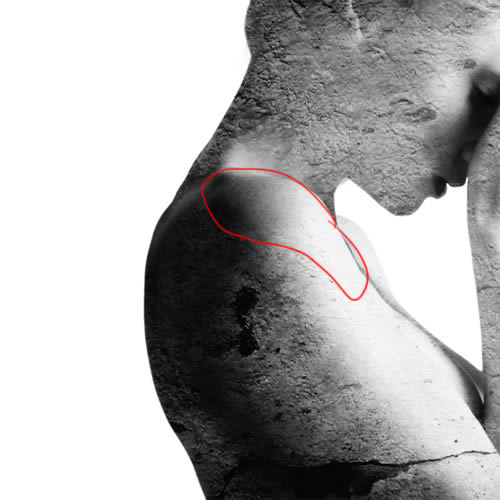
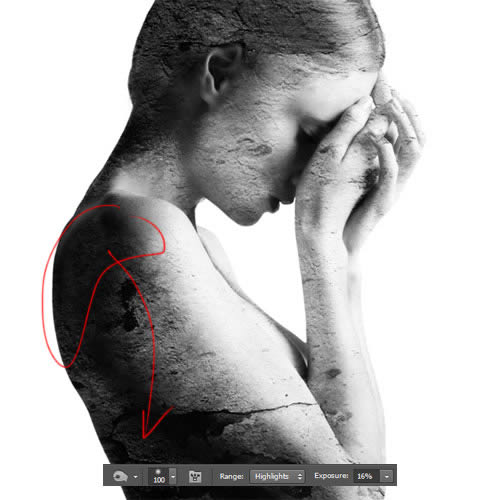
Paint over the shoulder so the texture disappears almost completely.
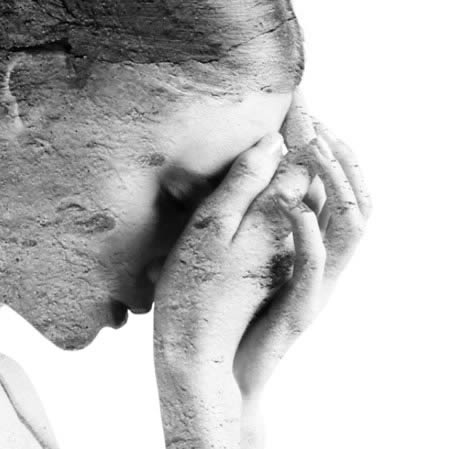
Refine the head by deleting completely the texture above the ear and refining the eye area if needed.
Step 7
Select the Burn Tool (O) in Highlights Range mode and paint over the shoulder area on the "texture1" layer to darken it a bit.
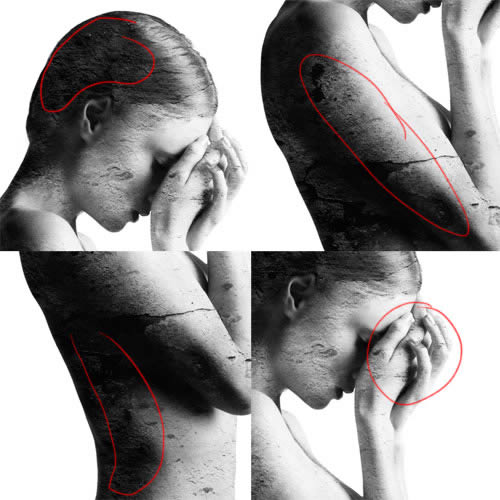
Repeat this process over the zones depicted below. This way we are deleting some brighter spots that could make our subject to look dirtier than it really should. Also, we are adapting the natural body shadows to the texture.
Step 8
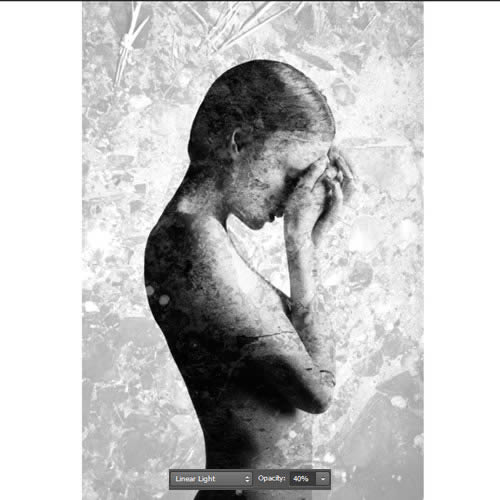
Add the Texture #3 image to the canvas. Name it "texture2".
Set the Blending Mode to Linear Light and the Opacity to 40%.
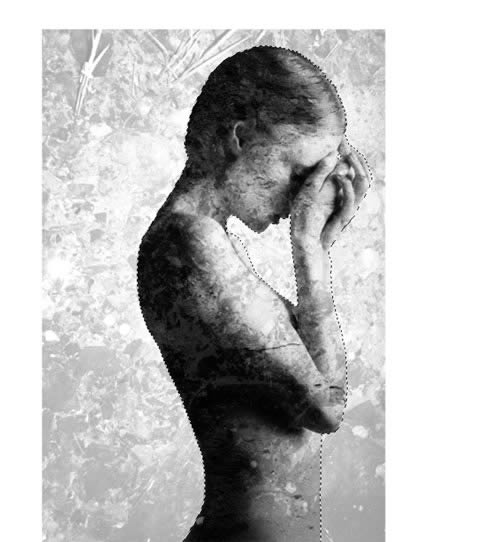
As we did with the first texture, Command/Ctrl – click on the "model" layer’s mask to load the selection and add a new mask on this texture layer to get the girl’s shape.
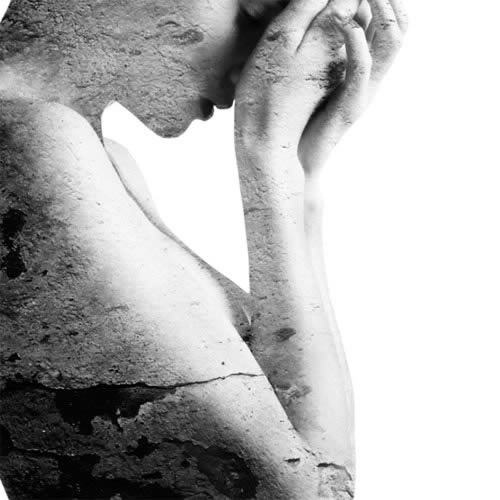
Step 9
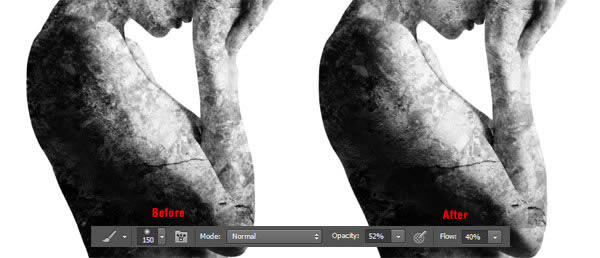
Use the Brush Tool (B) with the color black to paint over the highlights of the model over the "texture2" layer mask.
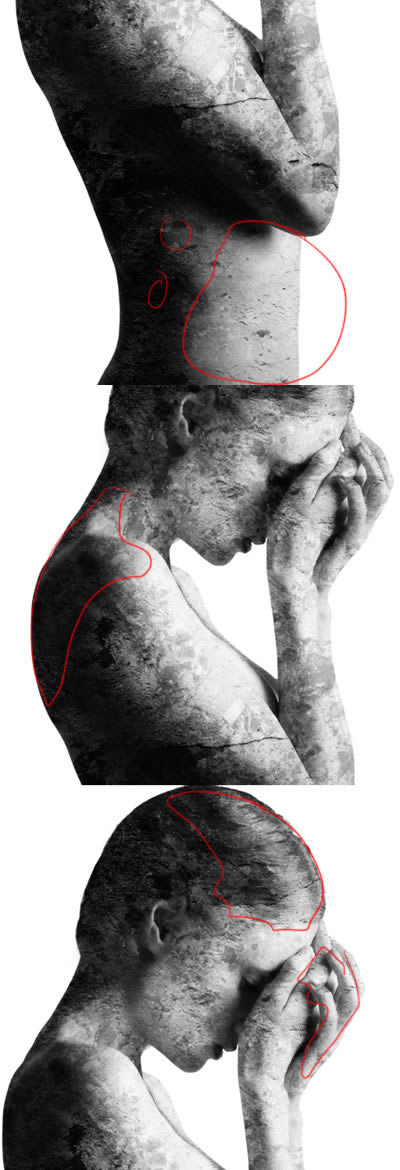
Do the same in other areas just almost as we did with the other texture. Erase texture between body parts junctions. Remember to paint over the fingers, the hair, belly and shoulder.
Step 10
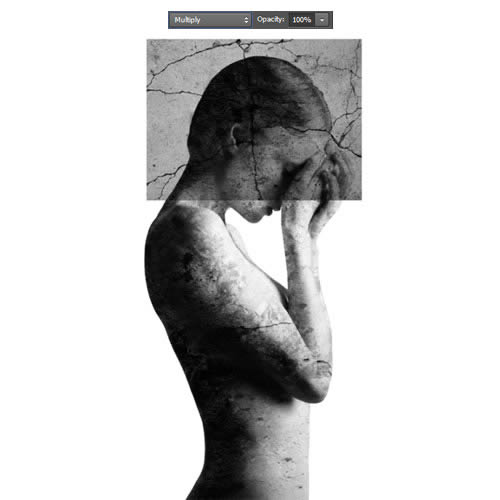
Add the Crack #1 stock pic.
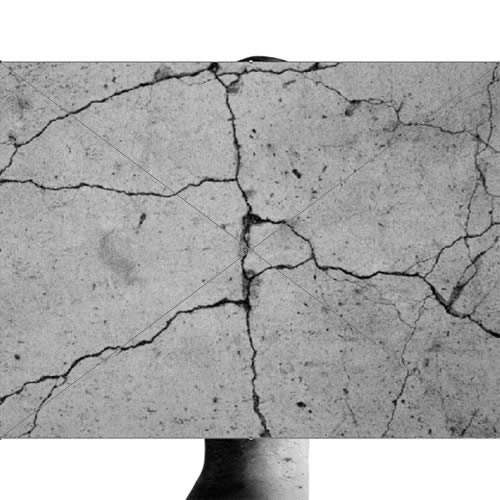
Resize it, holding Shift key to keep the aspect ratio, and place it above the head, set the Blending Mode to Multiply and name this layer "crack1".
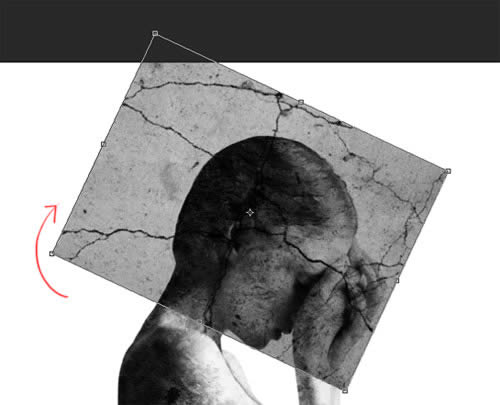
Go to Edit > Free Transform (Command/Ctrl + T) and rotate a bit the layer to the right. Press Enter when you are done.
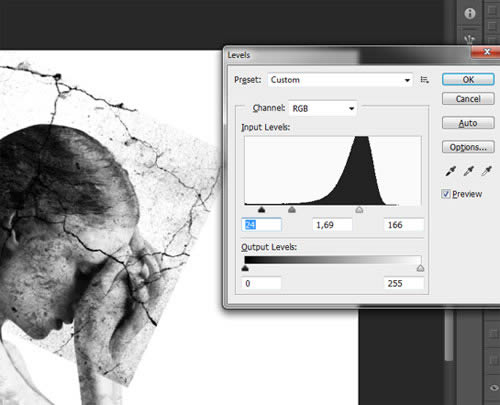
Press Command/Ctrl + L for Levels and use the following settings:
Command/Ctrl – click the "model" layer’s mask to load its selection and add a new Layer Mask to the "crack1" layer.
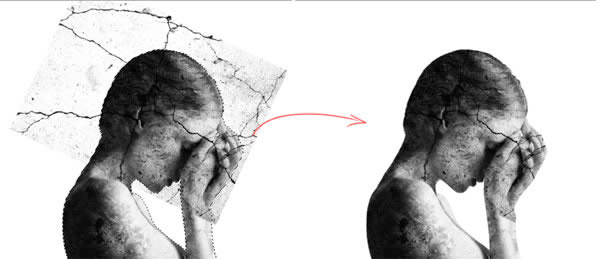
Use a small black brush to paint over some fingers as we are usually doing in this tutorial, to blend the texture. Erase also the edges of the layer.


Tutorial - Create An Emotional, Molten, Shattered Statue In Photoshop ~ Gantavya Rocks >>>>> Download Now
ReplyDelete>>>>> Download Full
Tutorial - Create An Emotional, Molten, Shattered Statue In Photoshop ~ Gantavya Rocks >>>>> Download LINK
>>>>> Download Now
Tutorial - Create An Emotional, Molten, Shattered Statue In Photoshop ~ Gantavya Rocks >>>>> Download Full
>>>>> Download LINK